
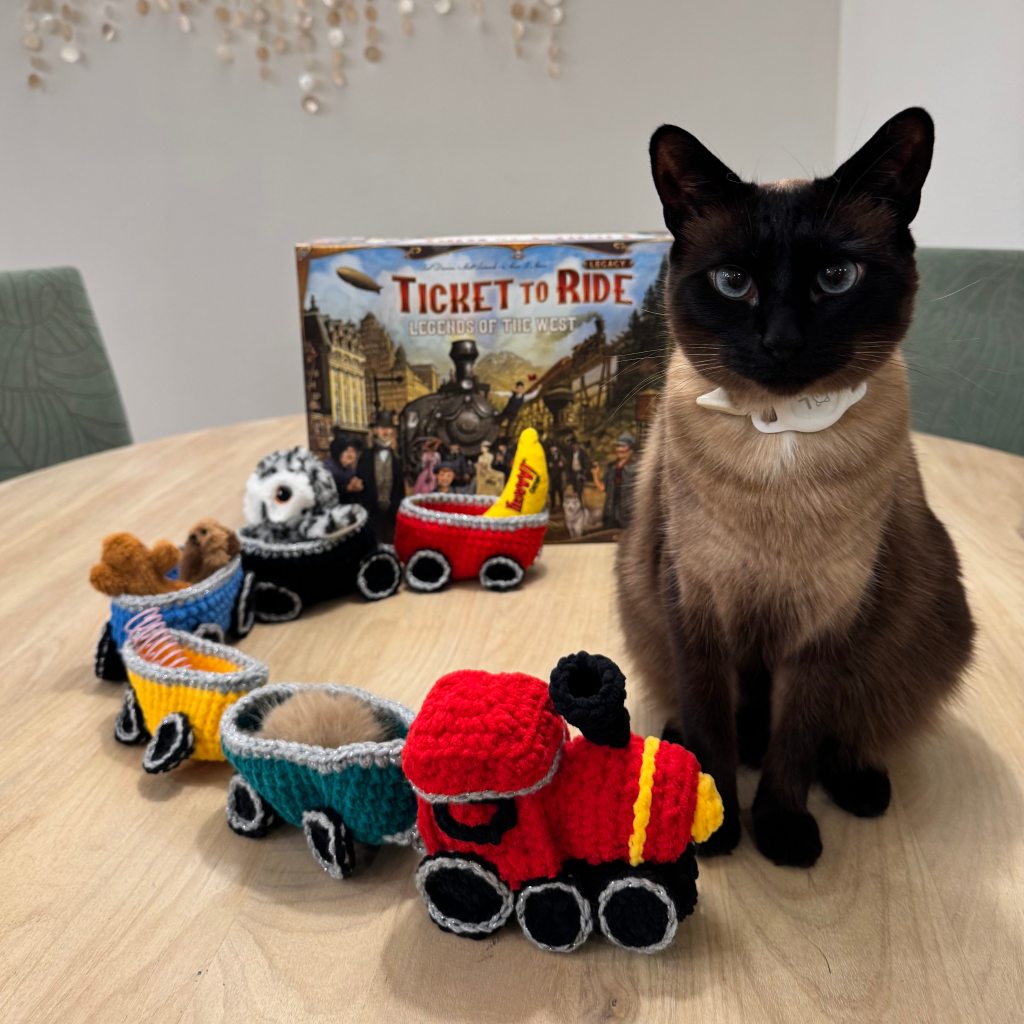
This summer I’ve been playing Ticket to Ride Legacy: Legends of the West. https://a.co/d/00lAdTrL This is my second time playing a legacy board game, and it’s been so much fun. To commemorate our last game session of Ticket To Ride Legacy, I crocheted a train!
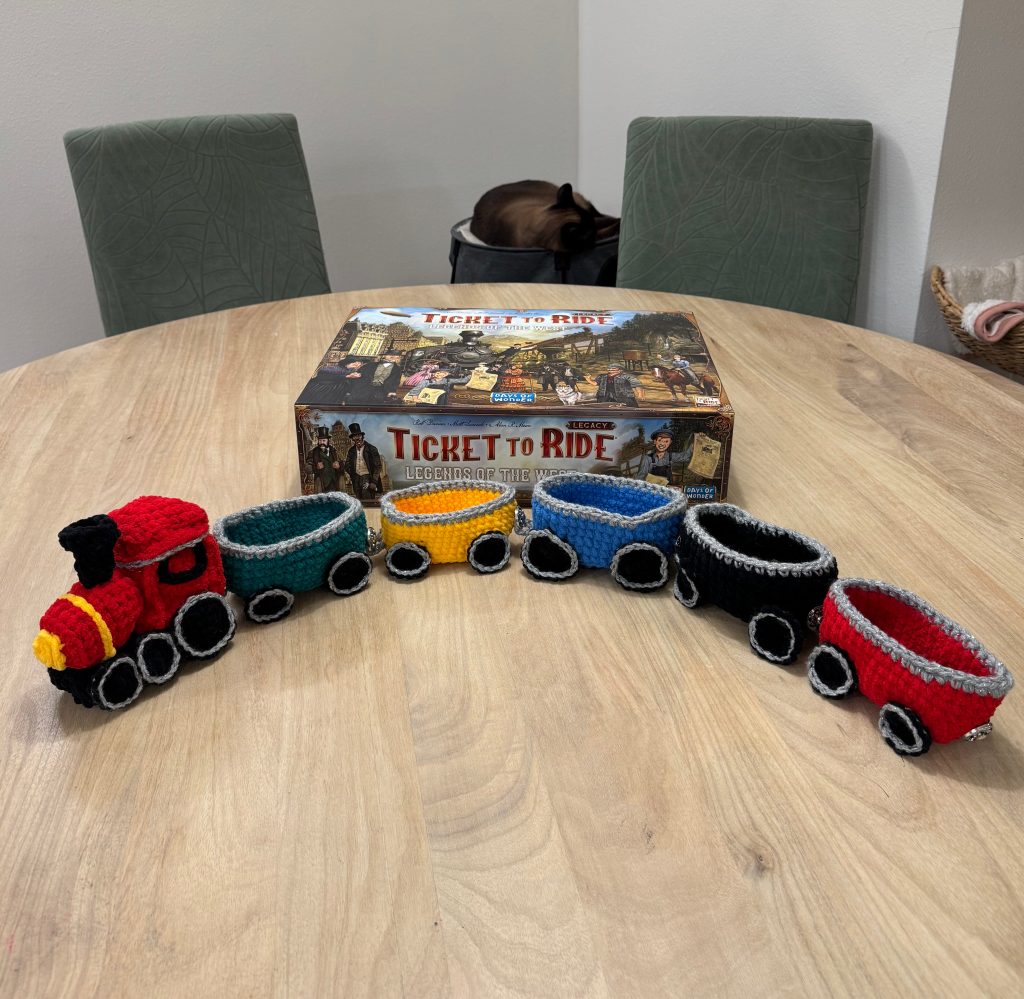
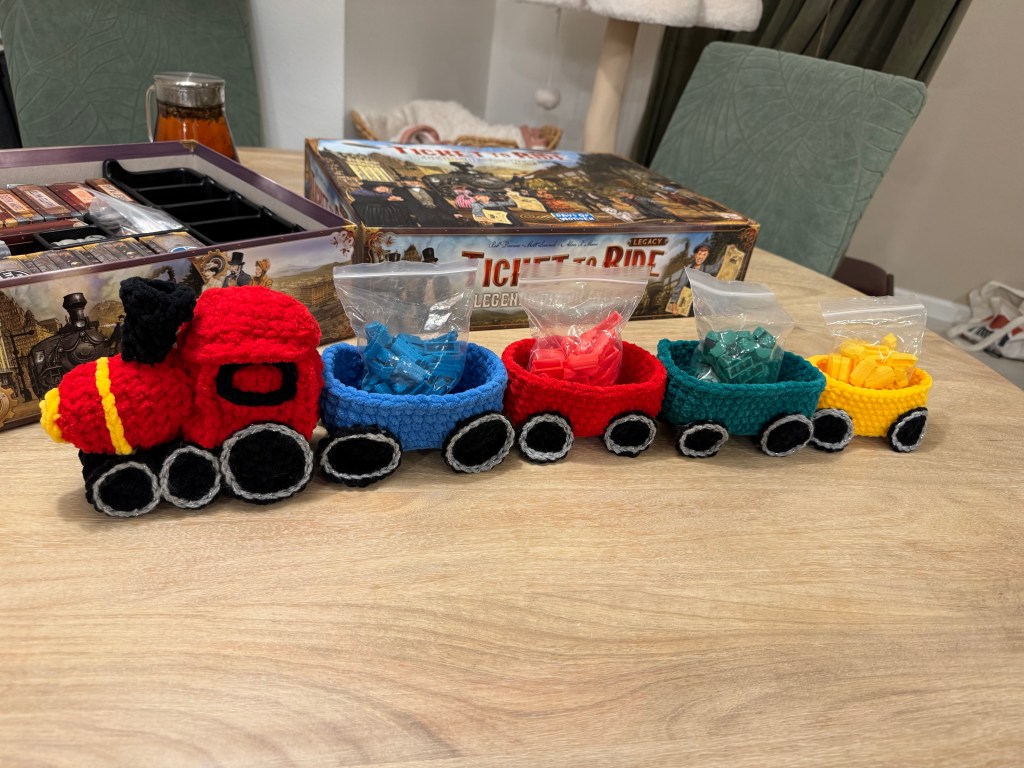
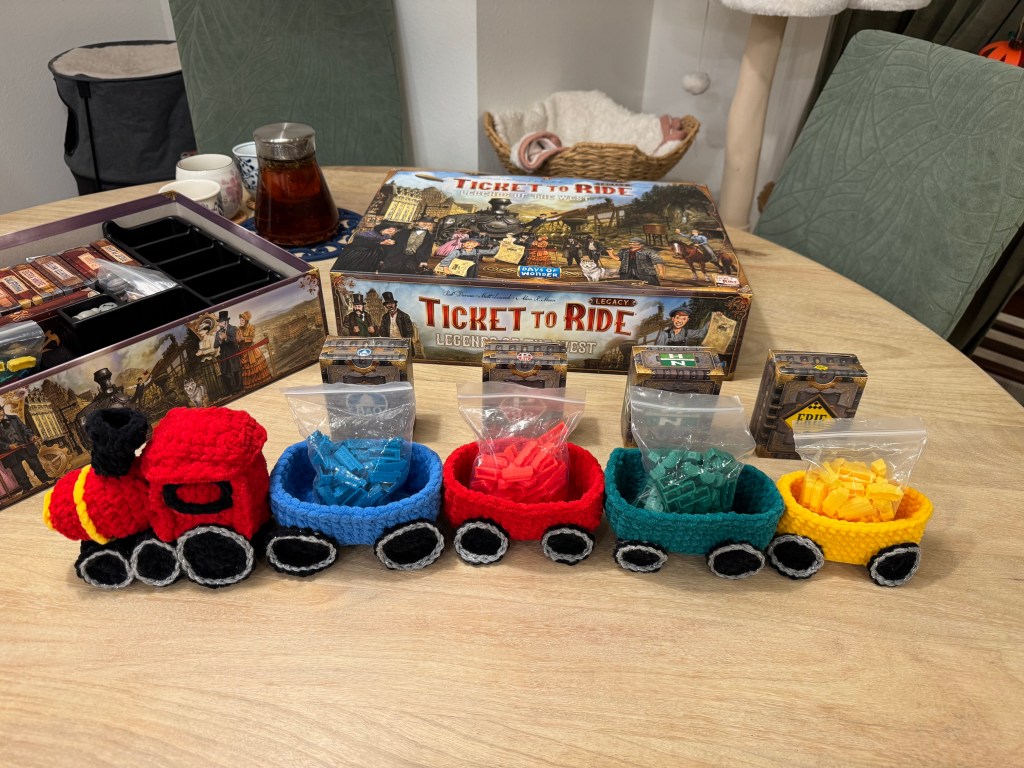
All the cutest trains I found used super thin yarn but I had a ton of chenille chunky yarn to used up, so here’s how I made my chunky yarn train. Try to use the same size yarn rather than the yarn colors I had that ranged between size 5 and size 6 so that your train cars come out to the same size.
Materials
6.5mm hook for most of the trains and the following yarn colors
Yarn colors:
Green: Big Twist Posh Chic Kale (233yd / 7oz or 213 m / 200g) size 5 yarn. https://www.michaels.com/product/big-twist-posh-yarn-10793020
Blue: Soft Yarn Blperly Chenille velvet yarn (100g/3.53oz) size 6 https://a.co/d/0dbBj82D
Red: Chenille Velvet Yarn: 100g/3.5oz Would not buy this yarn again from amazon. https://a.co/d/0b4hcfwy
Black: Chenille yarn 100g/3oz https://a.co/d/0duC2nle
Ran out of black, also used Hobbymia Velvet XL size 6. https://a.co/d/00NbhOVm
Yellow: omouit golden yellow soft velvet yarn 100g/3.53oz https://a.co/d/07flxM1R
Gray/silver wheel accents: Big Twist Twinkle Yarn https://www.michaels.com/product/big-twist-twinkle-yarn-10794572
5-6 large buttons: 23mm/0.9inch Antique Silver Filigree Cut Round Metal Buttons by Loops & Threads https://www.michaels.com/product/23mm-antique-silver-filigree-cut-round-metal-buttons-5ct-by-loops-threads-10827694
Silver Embroidery floss or thread to sew on buttons. DMC S415 https://www.michaels.com/product/dmc-satin-floss-10114942
Abbreviations:
FLO: front loops only
BLO: back loops only
mc: magic circle
sl st: slip stitch
ch: chain
sc: single crochet
dc: double crochet
scinc: single crochet increase: 2 sc into one stitch
Note: where you would slip stitch to join a round, recommend using an invisible join.
Pattern:
Locomotive Boiler first car:
square base only 3 rows. each wall only 5 rows across, and 7 rows high.
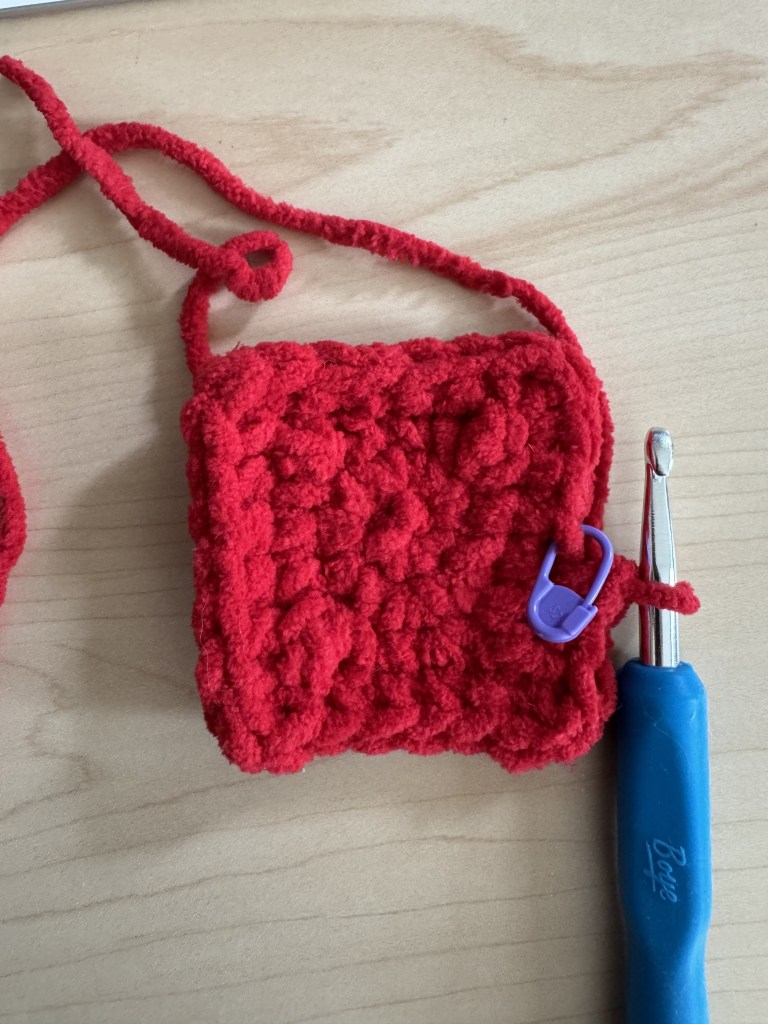
- MC, 6 sc, (6)
- inc x 6 (12)
- sc, (sc dc sc), 2sc, (sc dc sc), 2 sc, (sc dc sc), 2 sc, (sc dc sc), 1 sc, then 3 sc to reach end of row.
start your first wall:
in BLO for row 1: 5 sc, chain 1, turn. (5)
row 2-7: 5 sc, chain 1, turn
fasten off.
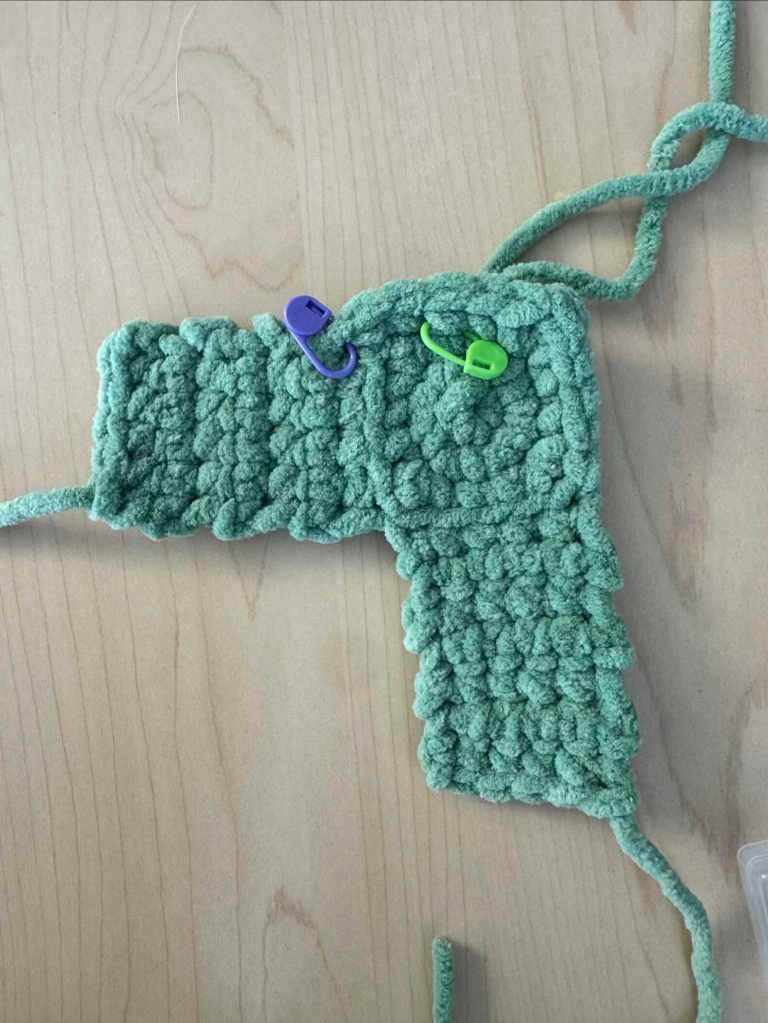
Tie on to another edge of the base square and repeat 3 more times until you have a large plus sign shape.
7sc the sides of each plus side together 4 times so that you have a cube. There should be 7 sc along each edge. (tie on and fasten off yarn as needed)
First car roof:
make a square base with 4 rows. then add 1-2 rows.
- MC, 6 sc, (6)
- inc x 6 (12)
- sc, (sc dc sc), 2sc, (sc dc sc), 2 sc, (sc dc sc), 2 sc, (sc dc sc), 1 sc
- 2sc, (sc dc sc), 4sc, (sc dc sc), 4 sc, (sc dc sc), 4 sc, (sc dc sc), 2 sc, then 4 sc to reach end of row. (at stitch marker to row)
- in BLO, sc in each stitch all around. (28)
- sc in each stitch of the round (28) fasten off. leave tail for sewing
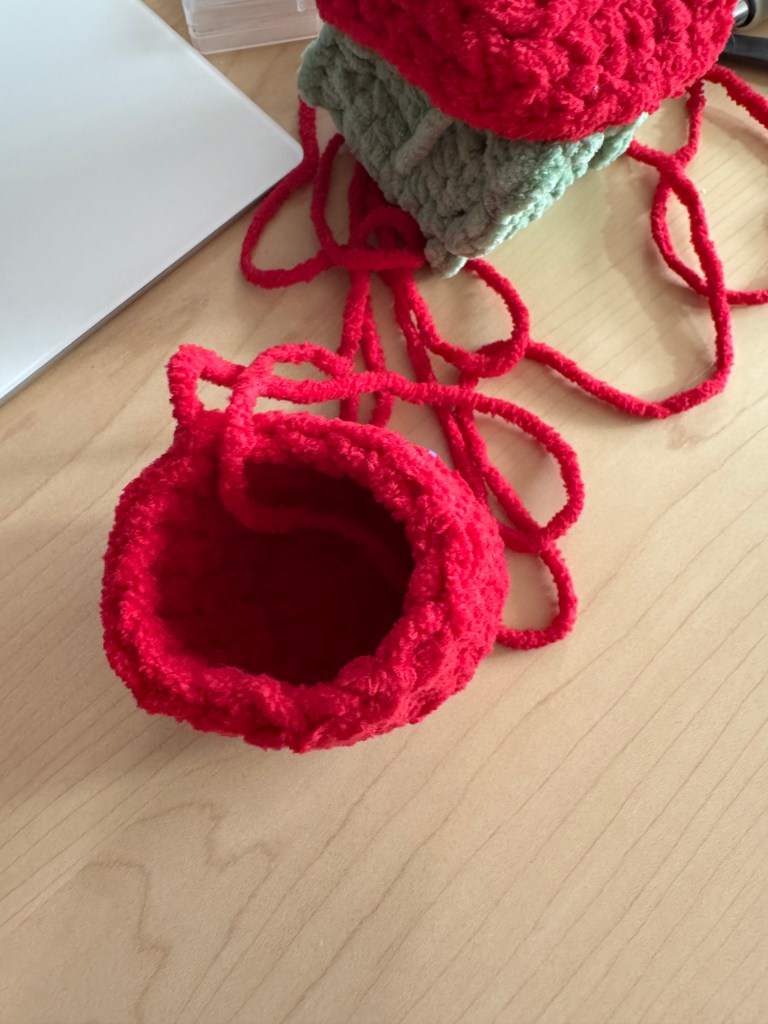
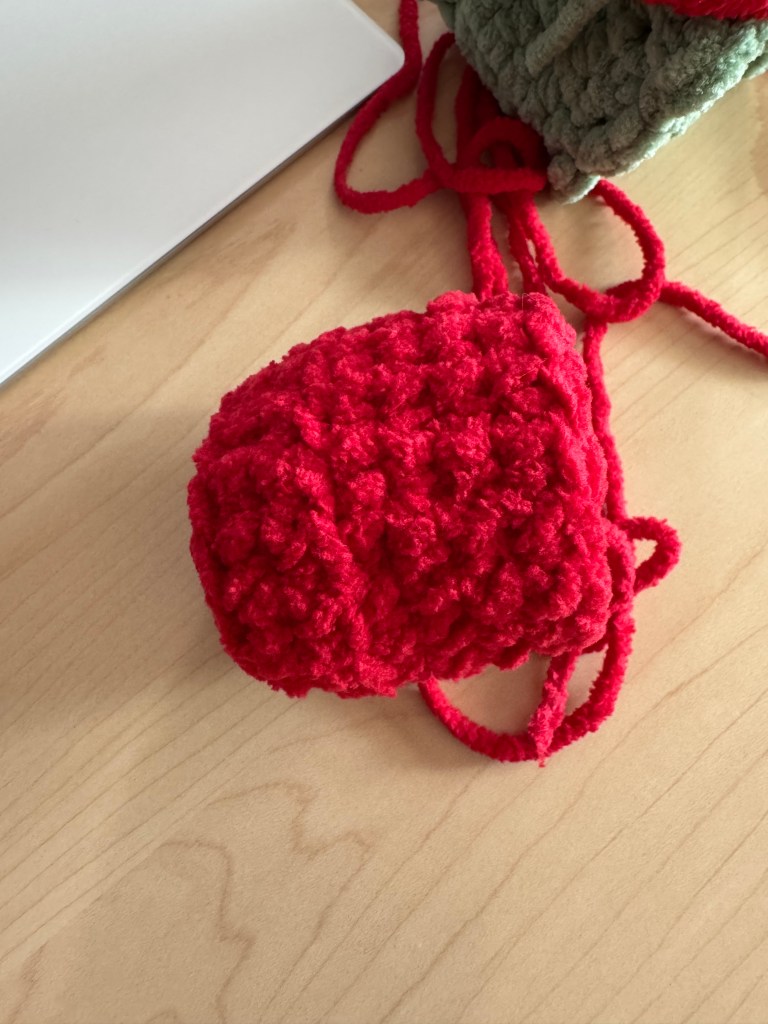
Locomotive Boiler:
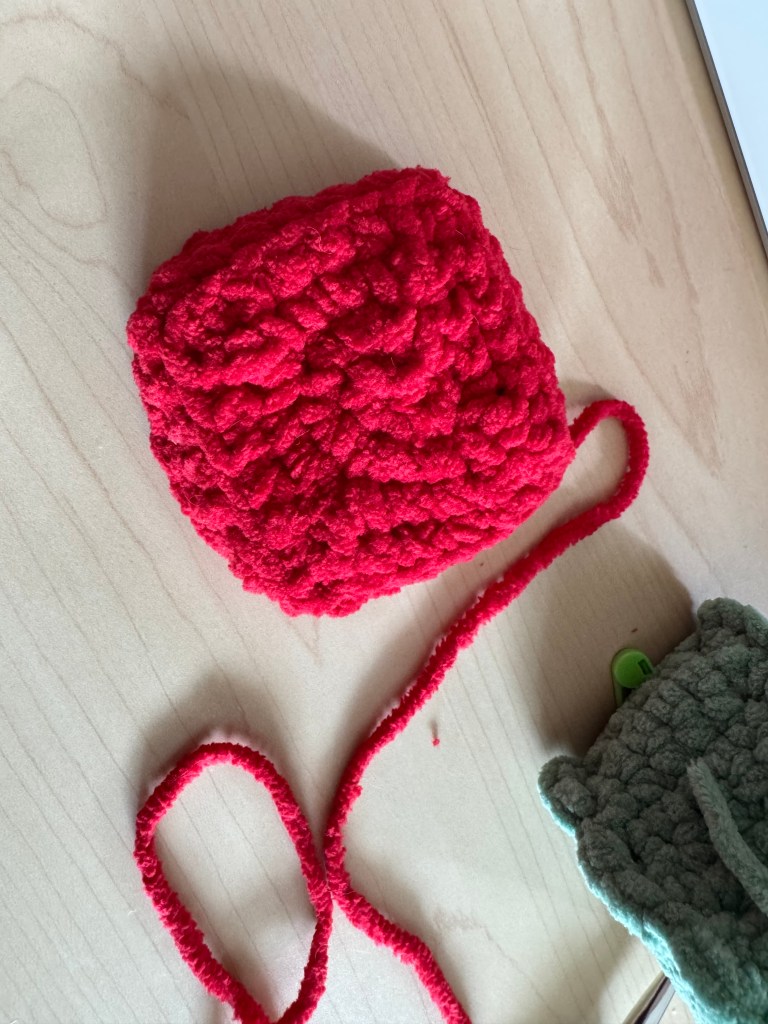
circle 3 rows, then 5 rows sides. BLO, SC row, BLO row, SC row, SC row.
Row 1: Magic Circle, 6sc (6)
Row 2: 6 scinc (12)
Row 3: (1 sc, scinc) x 6 (18)
Row 4: in BLO, 18 sc. (18)
Row 5: 18 sc (18)
Row 6: in BLO, 18 sc (18)
Row 7: 18 SC
Row 8: 18 SC. Fasten off leave tail for sewing in.
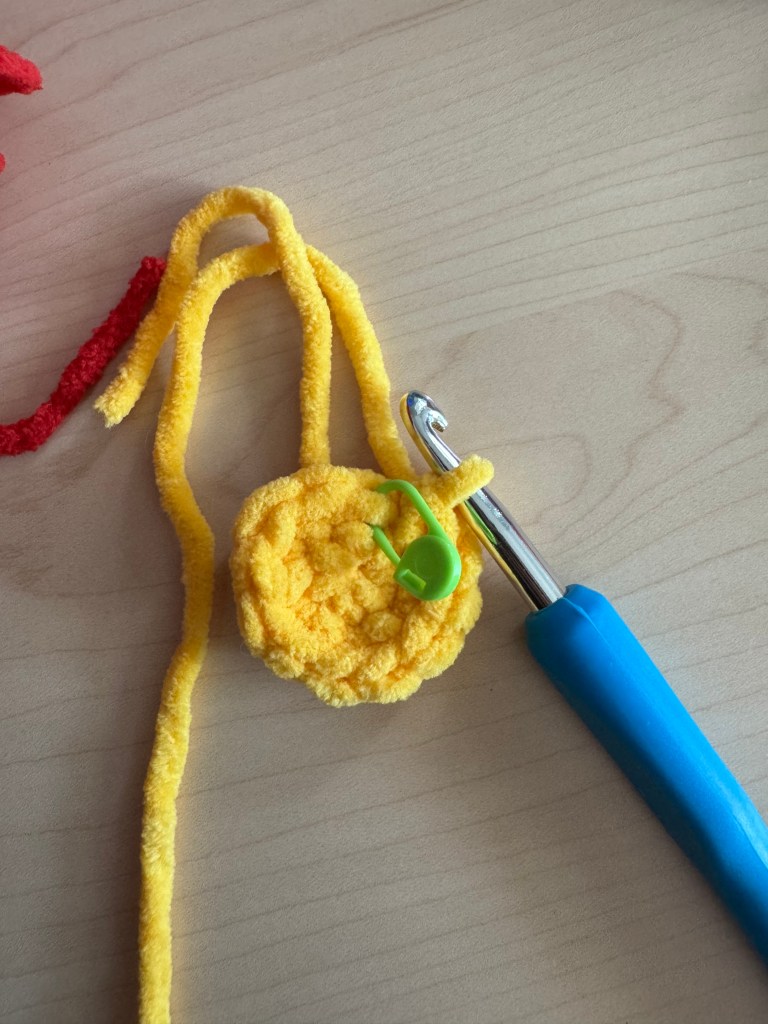
Headlight:
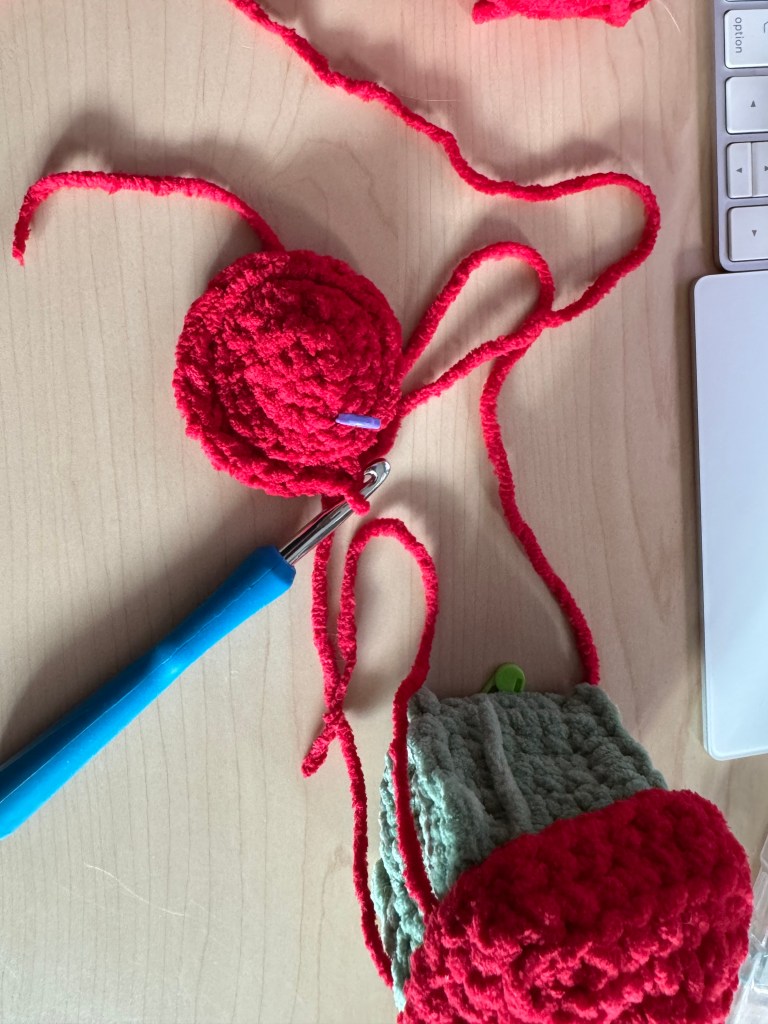
Row 1: MC, 6SC
Row 2: in BLO: 6 SC. sl st to first stitch, fasten off. leaving a tail for sewing
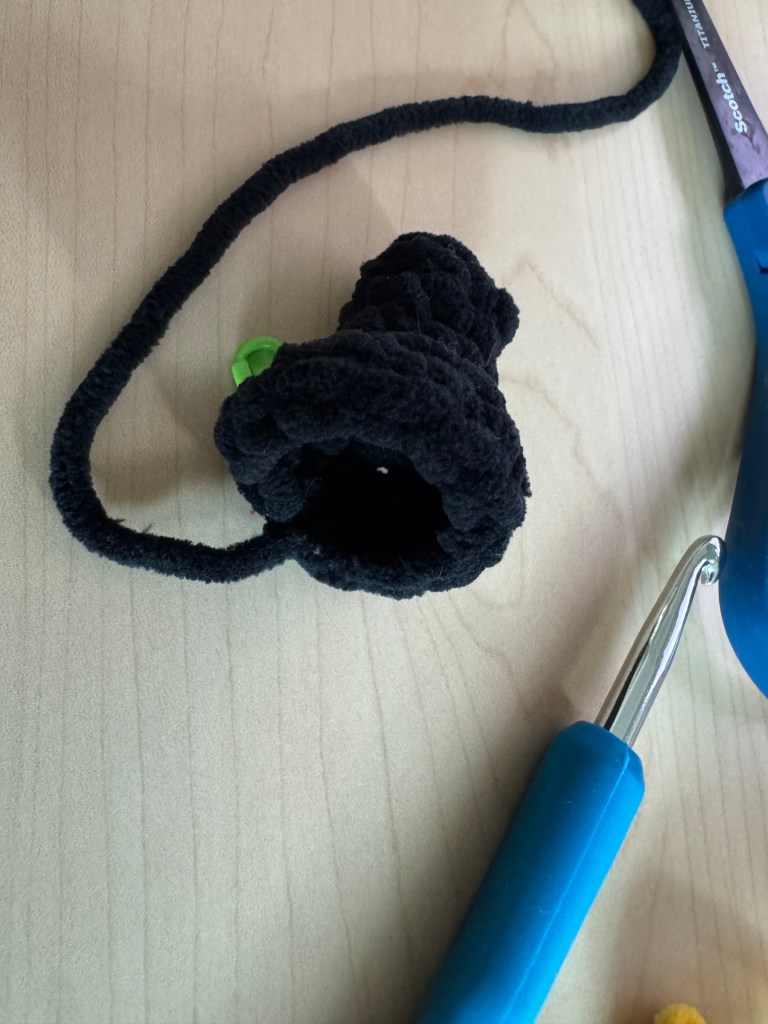
Chimney:
Row 1: MC 6SC, (6)
Row 2: in BLO: 6SC, (6)
Row 3-4: 6SC (6)
Row 5: in FLO: 6 scinc (12)
Row 6: in BLO: 12 sc (12)
Train Base:
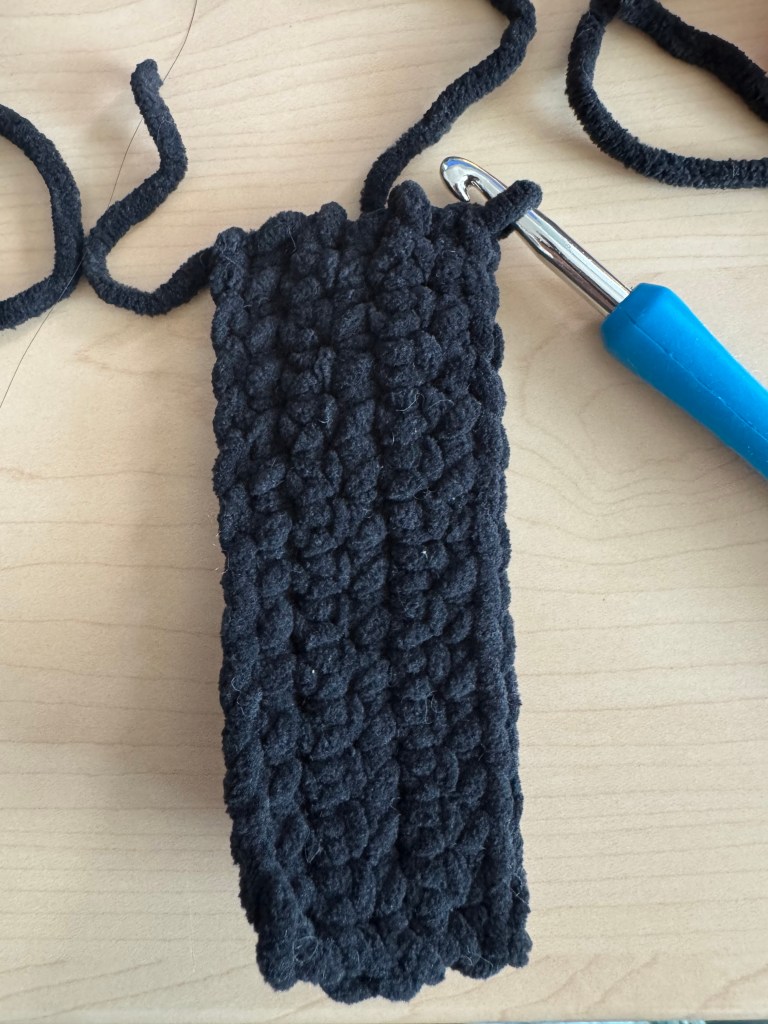
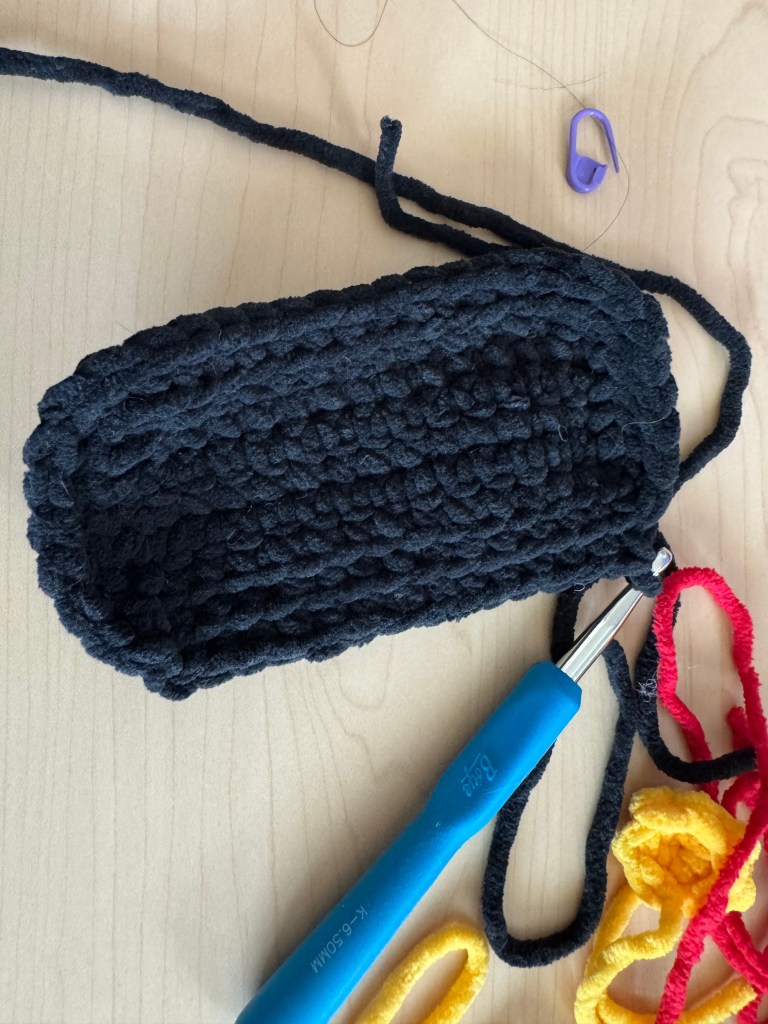
Here’s what I did but it was a bit of a mess. The general gist is to make a rectangle roughly the size of your cab+boiler. then stuff it lightly to make the train more fun and squishable.
Base: 14 sc wide rectangle + border add 1 row sc for height. stuff and sew together to make rectangle. 5 rows. then border. Make a “lid” crochet 7 rows back and forth until it folds plat to the other side of the platform, sew the 3 edges down after stuffing..
row 6: Ch1, sc inc into the side of row 6. continue 1 sc in the side of each row x 3, 3 sc into the side of row 1 to turn the corner, 13 sc along botton of row 1. 3 sc to turn corner. 13 sc., sc along short side as well. sl st join.
Wheels:
For Locomotive Boiler: make 4 small wheels & 2 large wheels.
For each Train car: make 4 small wheels.
small wheel: mc, 6sc, 6 scinc. sl st to join, fasten off. (2 rows)
large wheel: mc, 6 sc, 6scinc, (sc, scinc) x3. sl st to join. fasten off (3 rows)
Wheel border.
Slip stitch a gray border around each wheel. Slip stitch into the top of each stitch of the last black yarn row. Invisible join to connect to the first chain. (To start the silver border, pull up a loop within one stitch, then pull up the next loop through the next stitch to slip stitch in.)
Train Car / Cart:
Ch 10,
Round 1: in starting from 2nd chain from hook, 8 sc, 3sc in last st to turn corner. work 7 sc into bottom chain. in the last bottom chain 2sc. sl st to join (20)
Round 2: ch1, 8 sc, 3sc in next stitch, 1 sc, 3 sc in next stitch, 8 sc, 3sc in the next stitch, sc, 3sc in the next stitch, sl st to first sc to join. (28)
Round 3: Ch1, 9sc, 3 sc in next st, 3sc, 3 sc in next st, 10 sc, 3sc in next stitch, 3sc, 3sc in next stitch, sc, slst to join (36)
Round 4: in BLO begin working in rounds (36)
Round 5-9: sc in each stitch all around (36)
Nearing the end of round 9, around stitch 32 sl st into the next stitch near one of the corners of the cart for an even top.
Swap to your accent color, and single crochet a border along the top edge of each train car to complete: Fasten on, Ch1, sc in each stitch. Sl st to join.
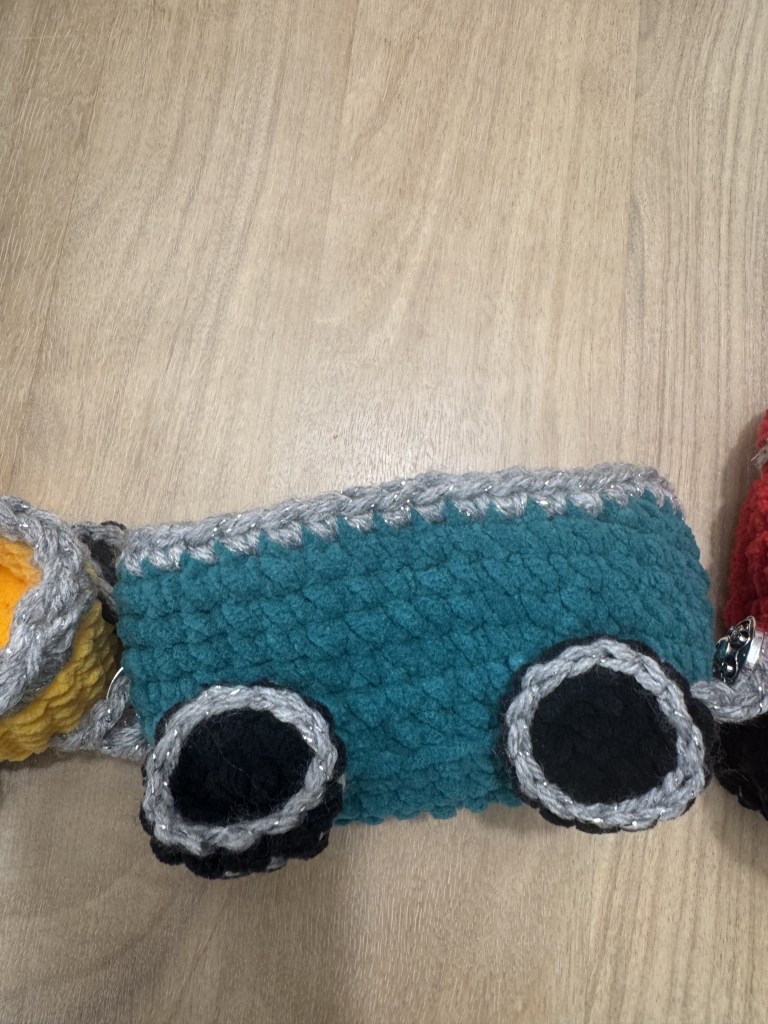
Sew onto the cart 4 small wheels. I placed the center or the wheels 1-3 stitch away from the corner of each car base.
Car connections train
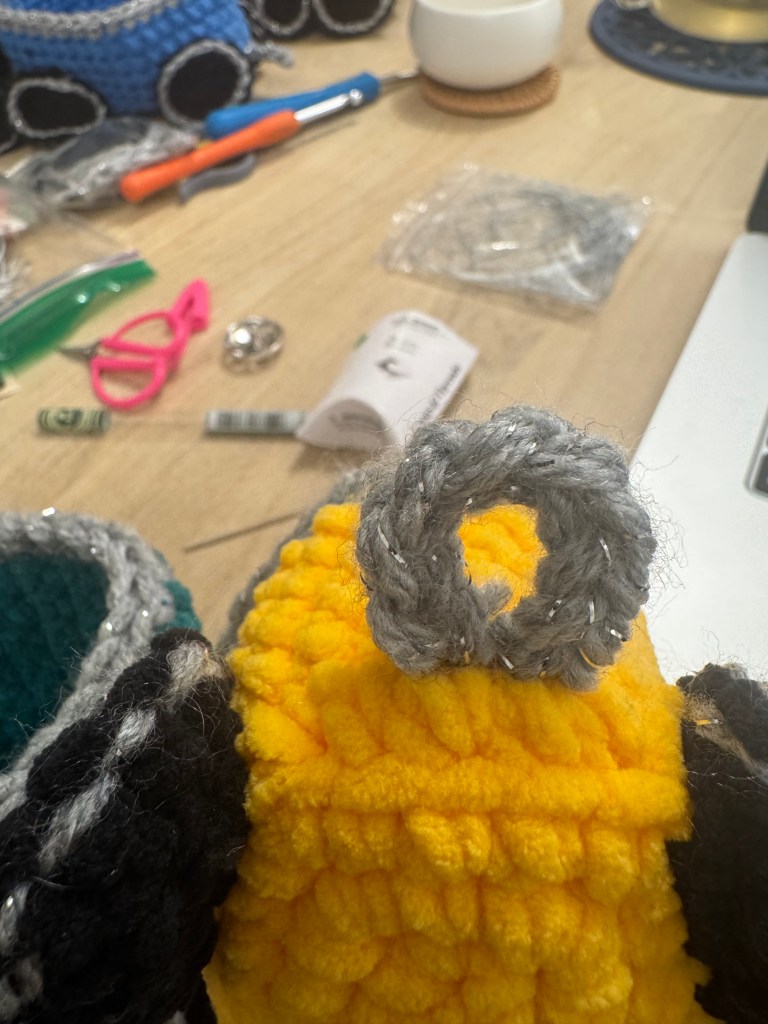
along the bottom of each car, 2nd row up from the base, fasten on, chain 9, tie ends into stitch to the right of your starting stitch. this will give you a loop on each car to connect.
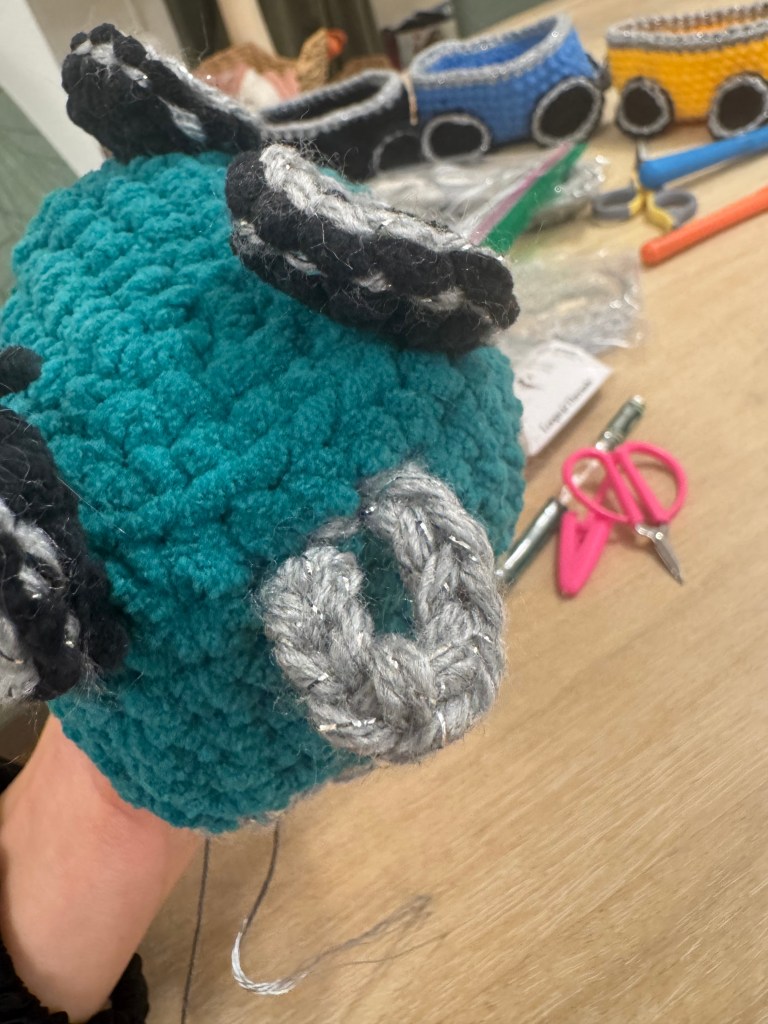
Assemble and add details:
This is the worst part. I hate sewing. I hear you can also use a hot glue, but then your amigurumi won’t be a soft and squishy or as well secured.
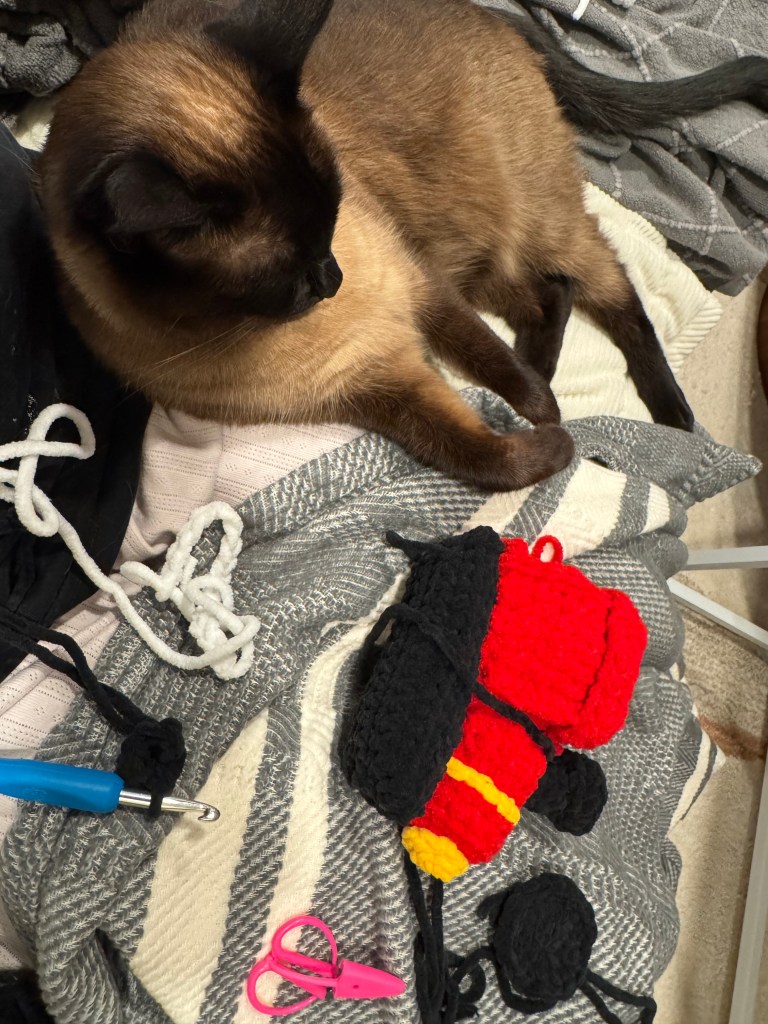
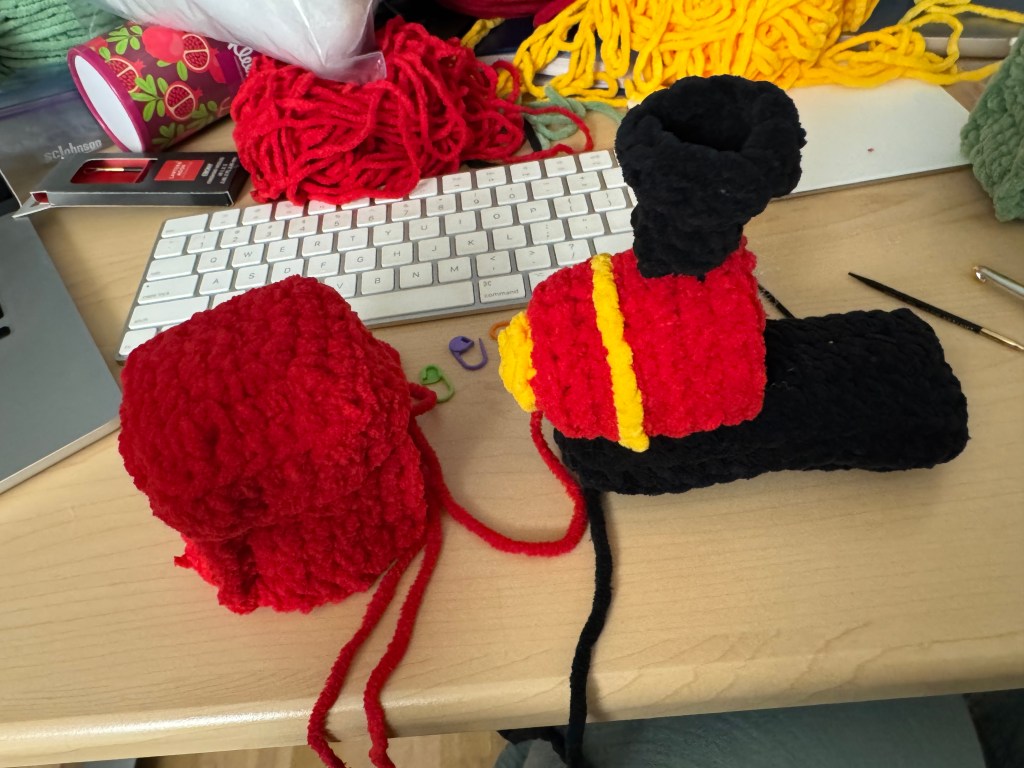
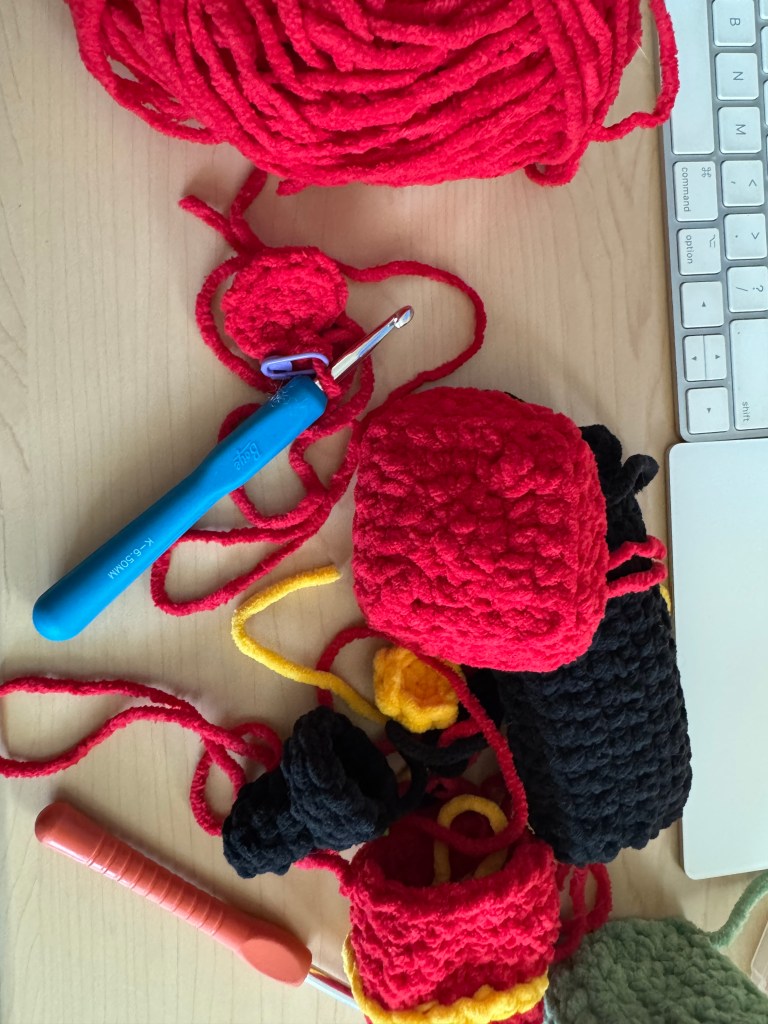
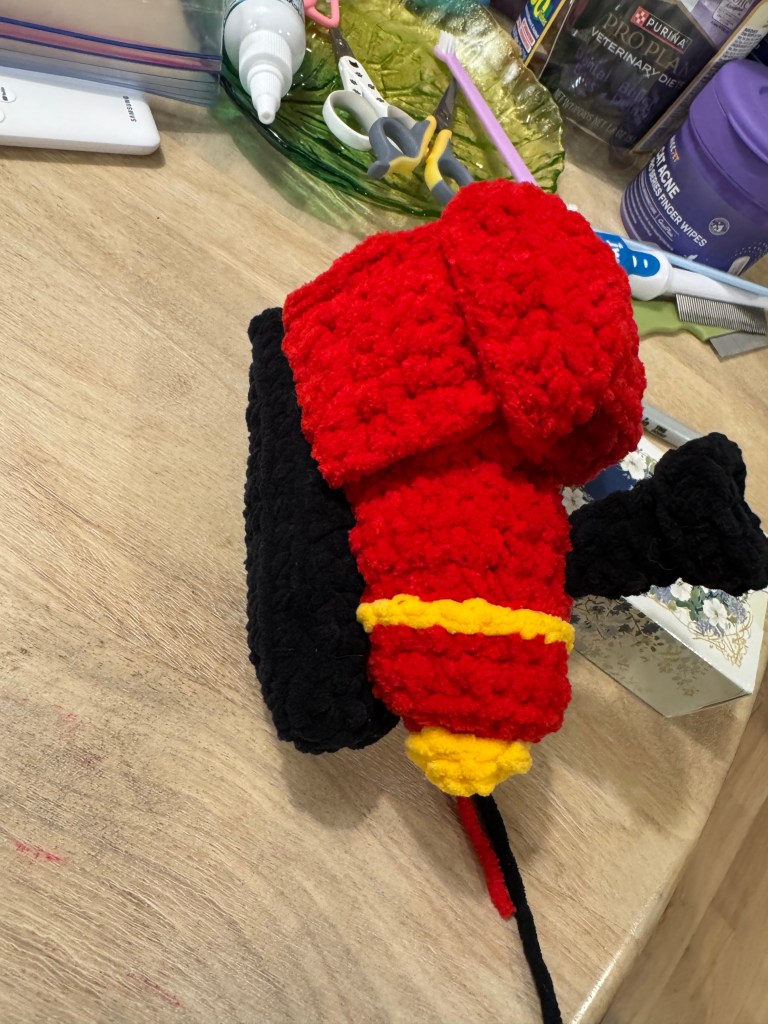
Details
Roof border: slip stitch along the edge of the train with gray/silver accent color of your choice.
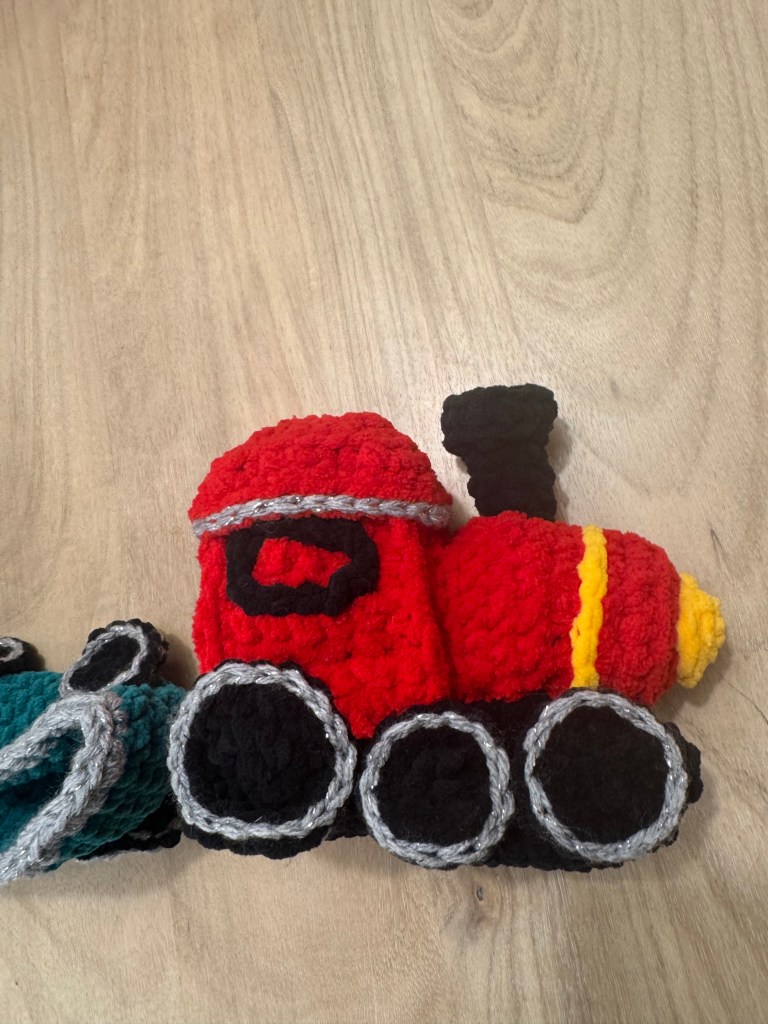
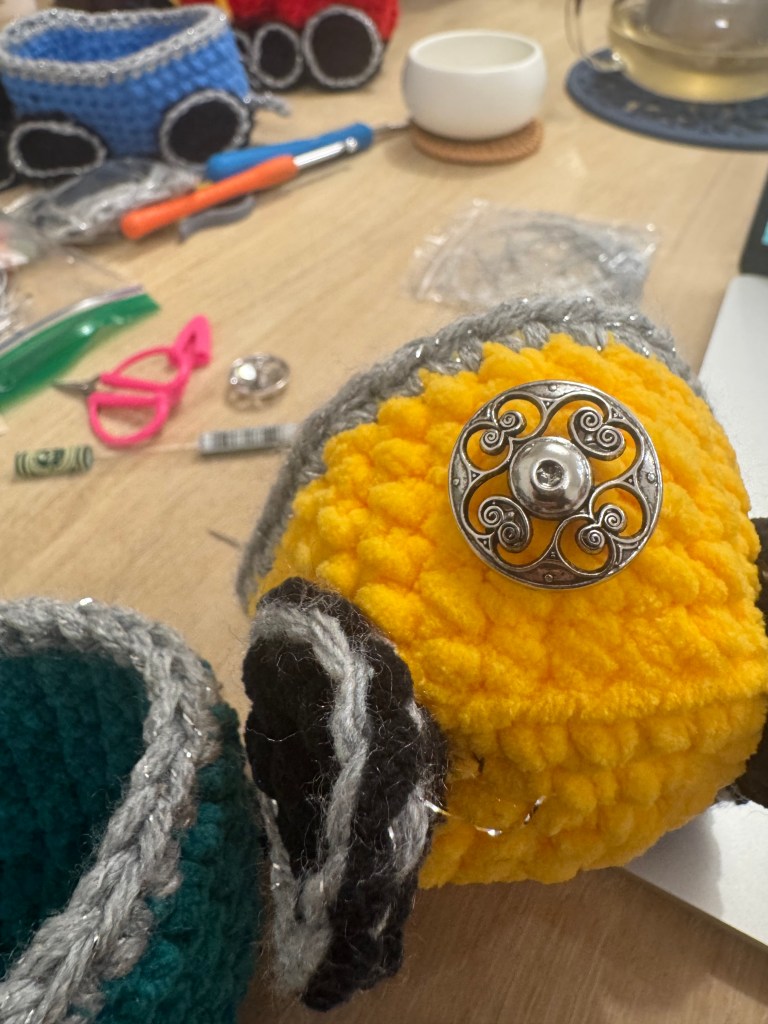
Sew on a button at the back of the locomotive and onto one side of each train car. To sew on the button looping the thread through the button and into different parts of the yarn 4-5 times, then make 2-3 shank knots (wrap around the base of the button and knot)
Now loop together the train cars using the crochet chain loops and the buttons at the back of each car.
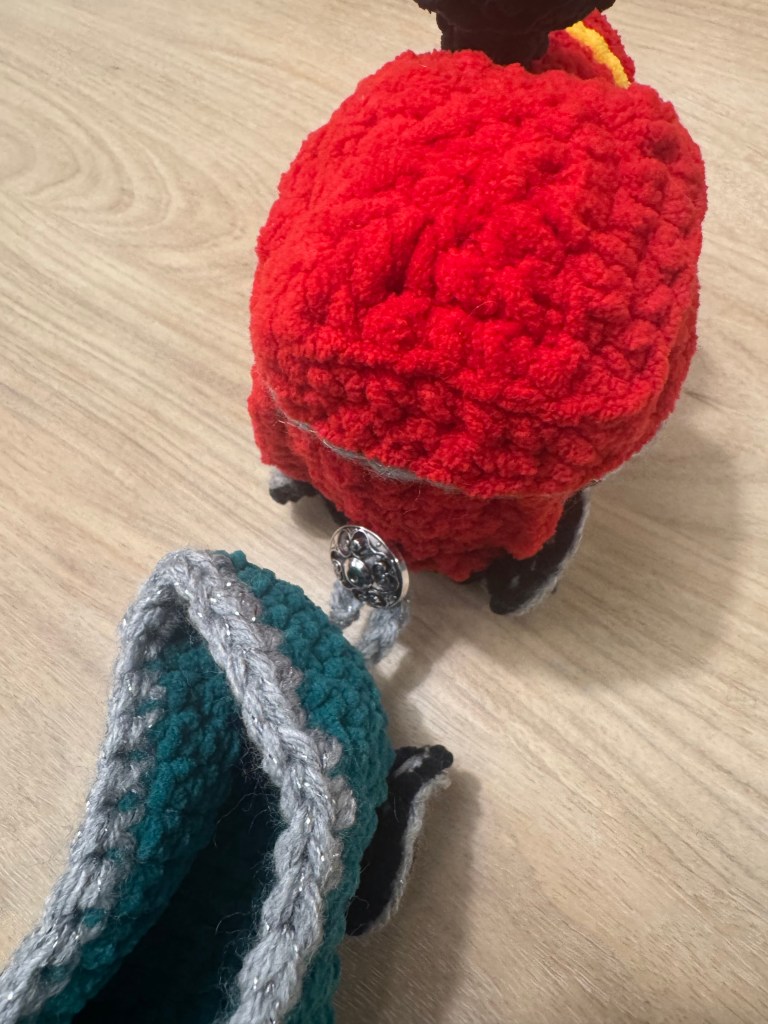
And you’re done!
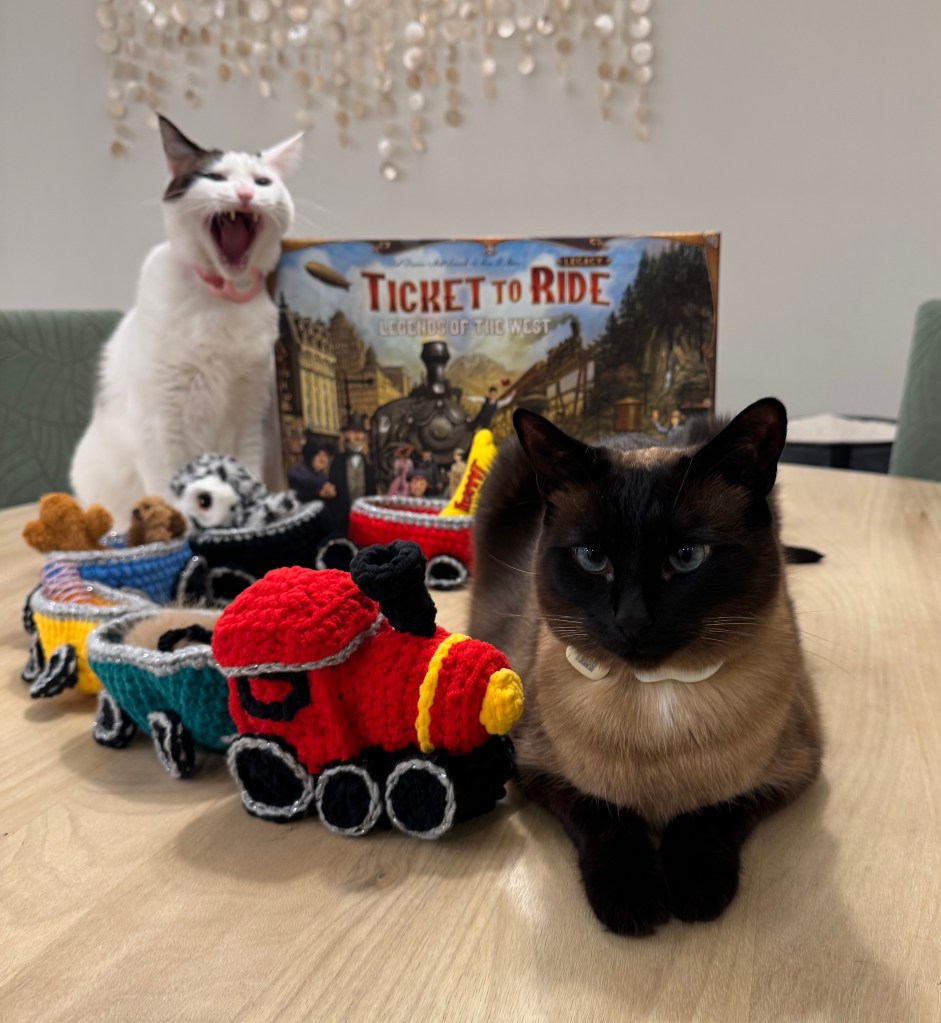
Additional ideas for details: Embroider your train company name on the train, sew on or slip stitch details on such as paint lines on the train car, or a window in the cab. You can also slip stitch spokes onto the wheel using gray yarn or a single gray line from the center of the front small wheel to the center of the large back wheel on the boiler car.
Creative Credits and Inspiration
Some cute trains I’d like to credit for inspiration:
This very cute train keychain I came across from amylivahandmade in instagram. This looks pretty doable for a future attempt with smaller yarn. adding a slip stitch chain along on the boiler to cab connection would add a lot.
Another super cute train at Crochet Christmas Train Pattern | Amigurumi Locomotive & Wagon PDF ENG by ShopForThePatterns on Etsy.
I also like this other pattern off Etsy called Mouse in a Train Crochet Pattern from LauLovesCrochet. The front reminds me of Polar Express. Another pro of using smaller yarn and more stitches is that it’s much easier to embroider cute designs onto the train.
And lastly, this cute free train pattern by carmen crochet. https://carmencrochet.com/train-amigurumi-free-pattern-in-english/
I think the key to making the train really cute is both smaller yarn (rather than the bulky chenille I was trying to use up) and more aesthetic pastel/muted colors. gingerbread colored train is super cute. I definitely bookmarked this last pattern’ color combinations for a future project though.
Future Pattern Modification ideas:
Turning the train cab area into a box. The top of the cab is shaped like a box lid, and would turn this cute train into functional storage.
Making the wheels spinnable.


Leave a Reply